Test Your Piercing Placement Before the Needle
Piercing regret is real - bad angles, asymmetric positioning, and styles that don't suit your face shape. Use adhesive studs to test nose, tragus, helix, and conch placements in natural light before committing to a needle.
Adhesive Piercings Studio
Piercing Placement & Style Experts
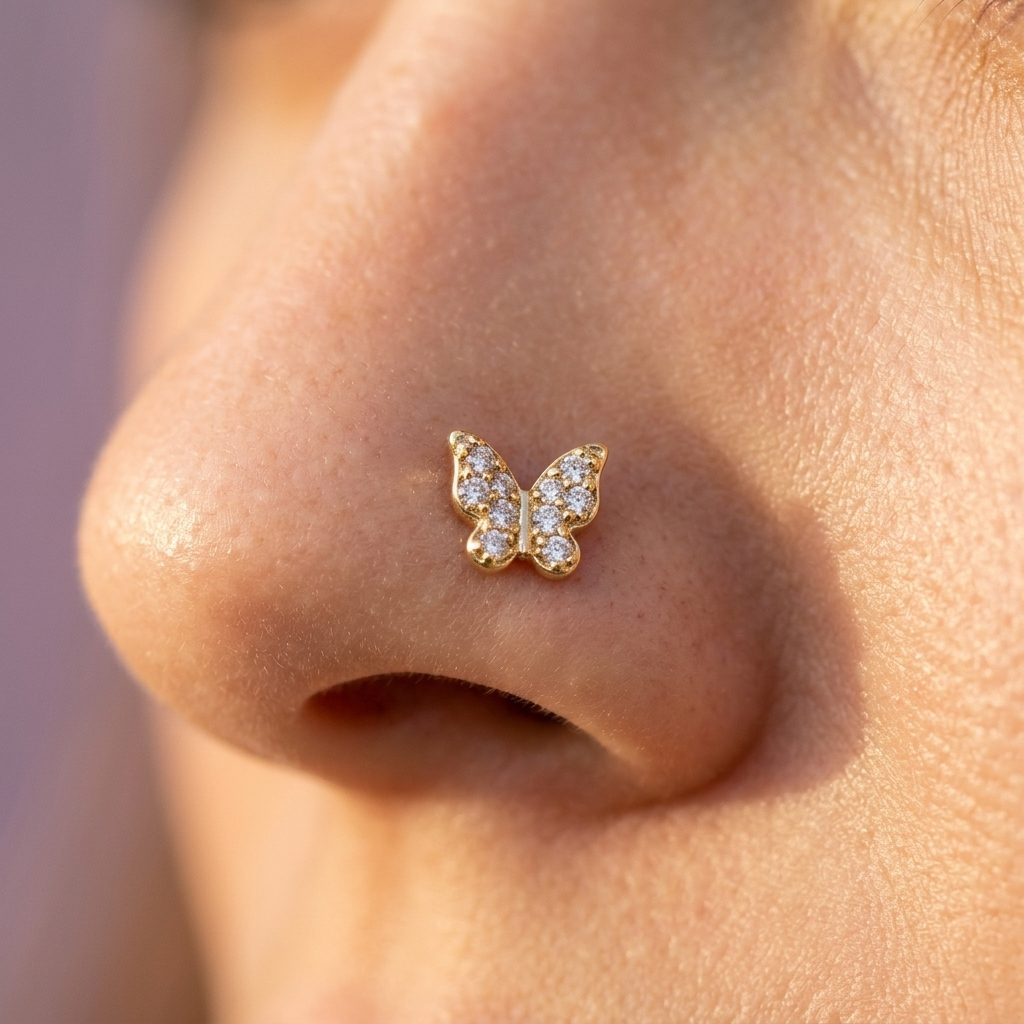
Getting a piercing is exciting - until you realise the angle is slightly off, the placement doesn't complement your face shape, or the stud sits in a spot that catches on your glasses every single day. Unlike a bad haircut, a bad piercing leaves a permanent scar. Professional piercers will mark the spot with a surgical pen and ask you to approve it in a mirror, but a quick glance under harsh studio fluorescent lighting is very different from seeing the piercing in your bathroom mirror, on a video call, or in natural daylight. Adhesive studs give you days or even weeks to live with a placement before making it permanent.
Why Piercing Placement Matters More Than You Think
A nostril piercing placed even 2mm too high, too low, or too far forward can look dramatically different from what you envisioned. The crease of the nostril, the curvature of the alar wing, and even the asymmetry between your left and right nostrils all affect how a stud catches the light and frames your face.
For ear piercings, the stakes are equally high. A helix piercing that sits too low looks like a missed lobe piercing. A tragus placement that's too deep interferes with earphones. A conch position that's too high leaves the stud hidden behind the outer rim instead of catching the eye.
Professional piercers are skilled, but they see your face for five minutes under artificial light. You know your face in every context - morning mirror, car visor, laptop webcam, restaurant candlelight. Testing placement across all these settings prevents expensive regret.
Step-by-Step: Testing Nose Piercing Placement
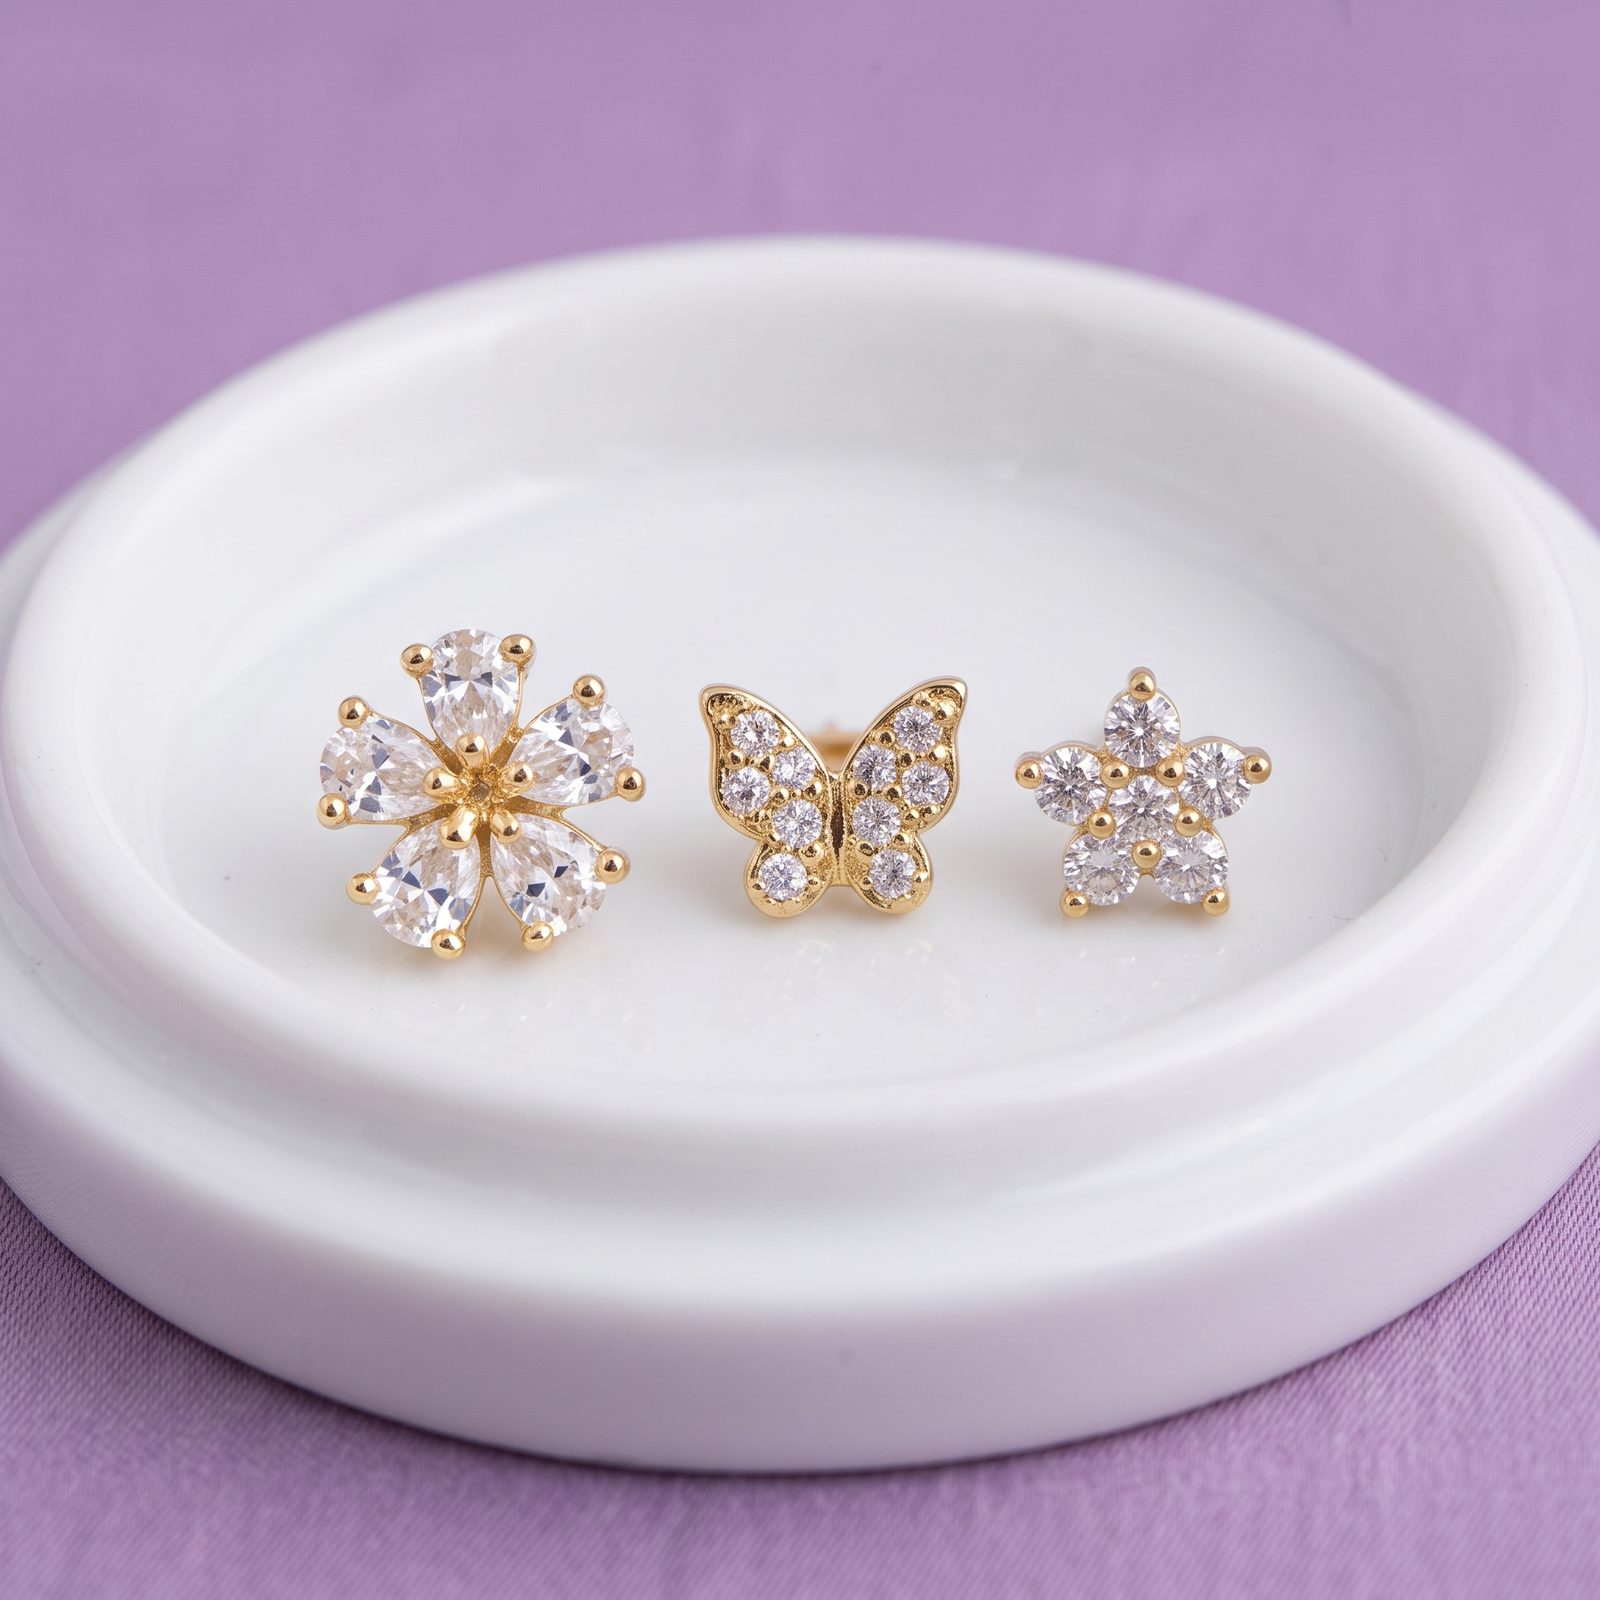
Start with a clean, oil-free nostril. Swipe the area with a 70% isopropyl alcohol prep pad and let it air dry completely. Take a single stud - the Celestial Starburst or Crystal Butterfly are perfect test sizes - and apply a fresh 3M 1522 adhesive dot to the flat back.
Stand in front of a window with natural light (never test placement under yellow bathroom bulbs). Place the stud where your instinct tells you, then step back and take photos from three angles: straight on, three-quarter profile, and full profile. Review the photos on your phone screen rather than trusting the mirror - photos show what others actually see.
Live with the placement for a full day. Does the stud catch on your glasses? Does it sit in the crease when you scrunch your nose? Does it complement the shape of your nostril from both sides? If anything feels wrong, peel it off and try again tomorrow with a different position. You can test dozens of placements over a few weeks with zero pain, zero holes, and zero commitment.
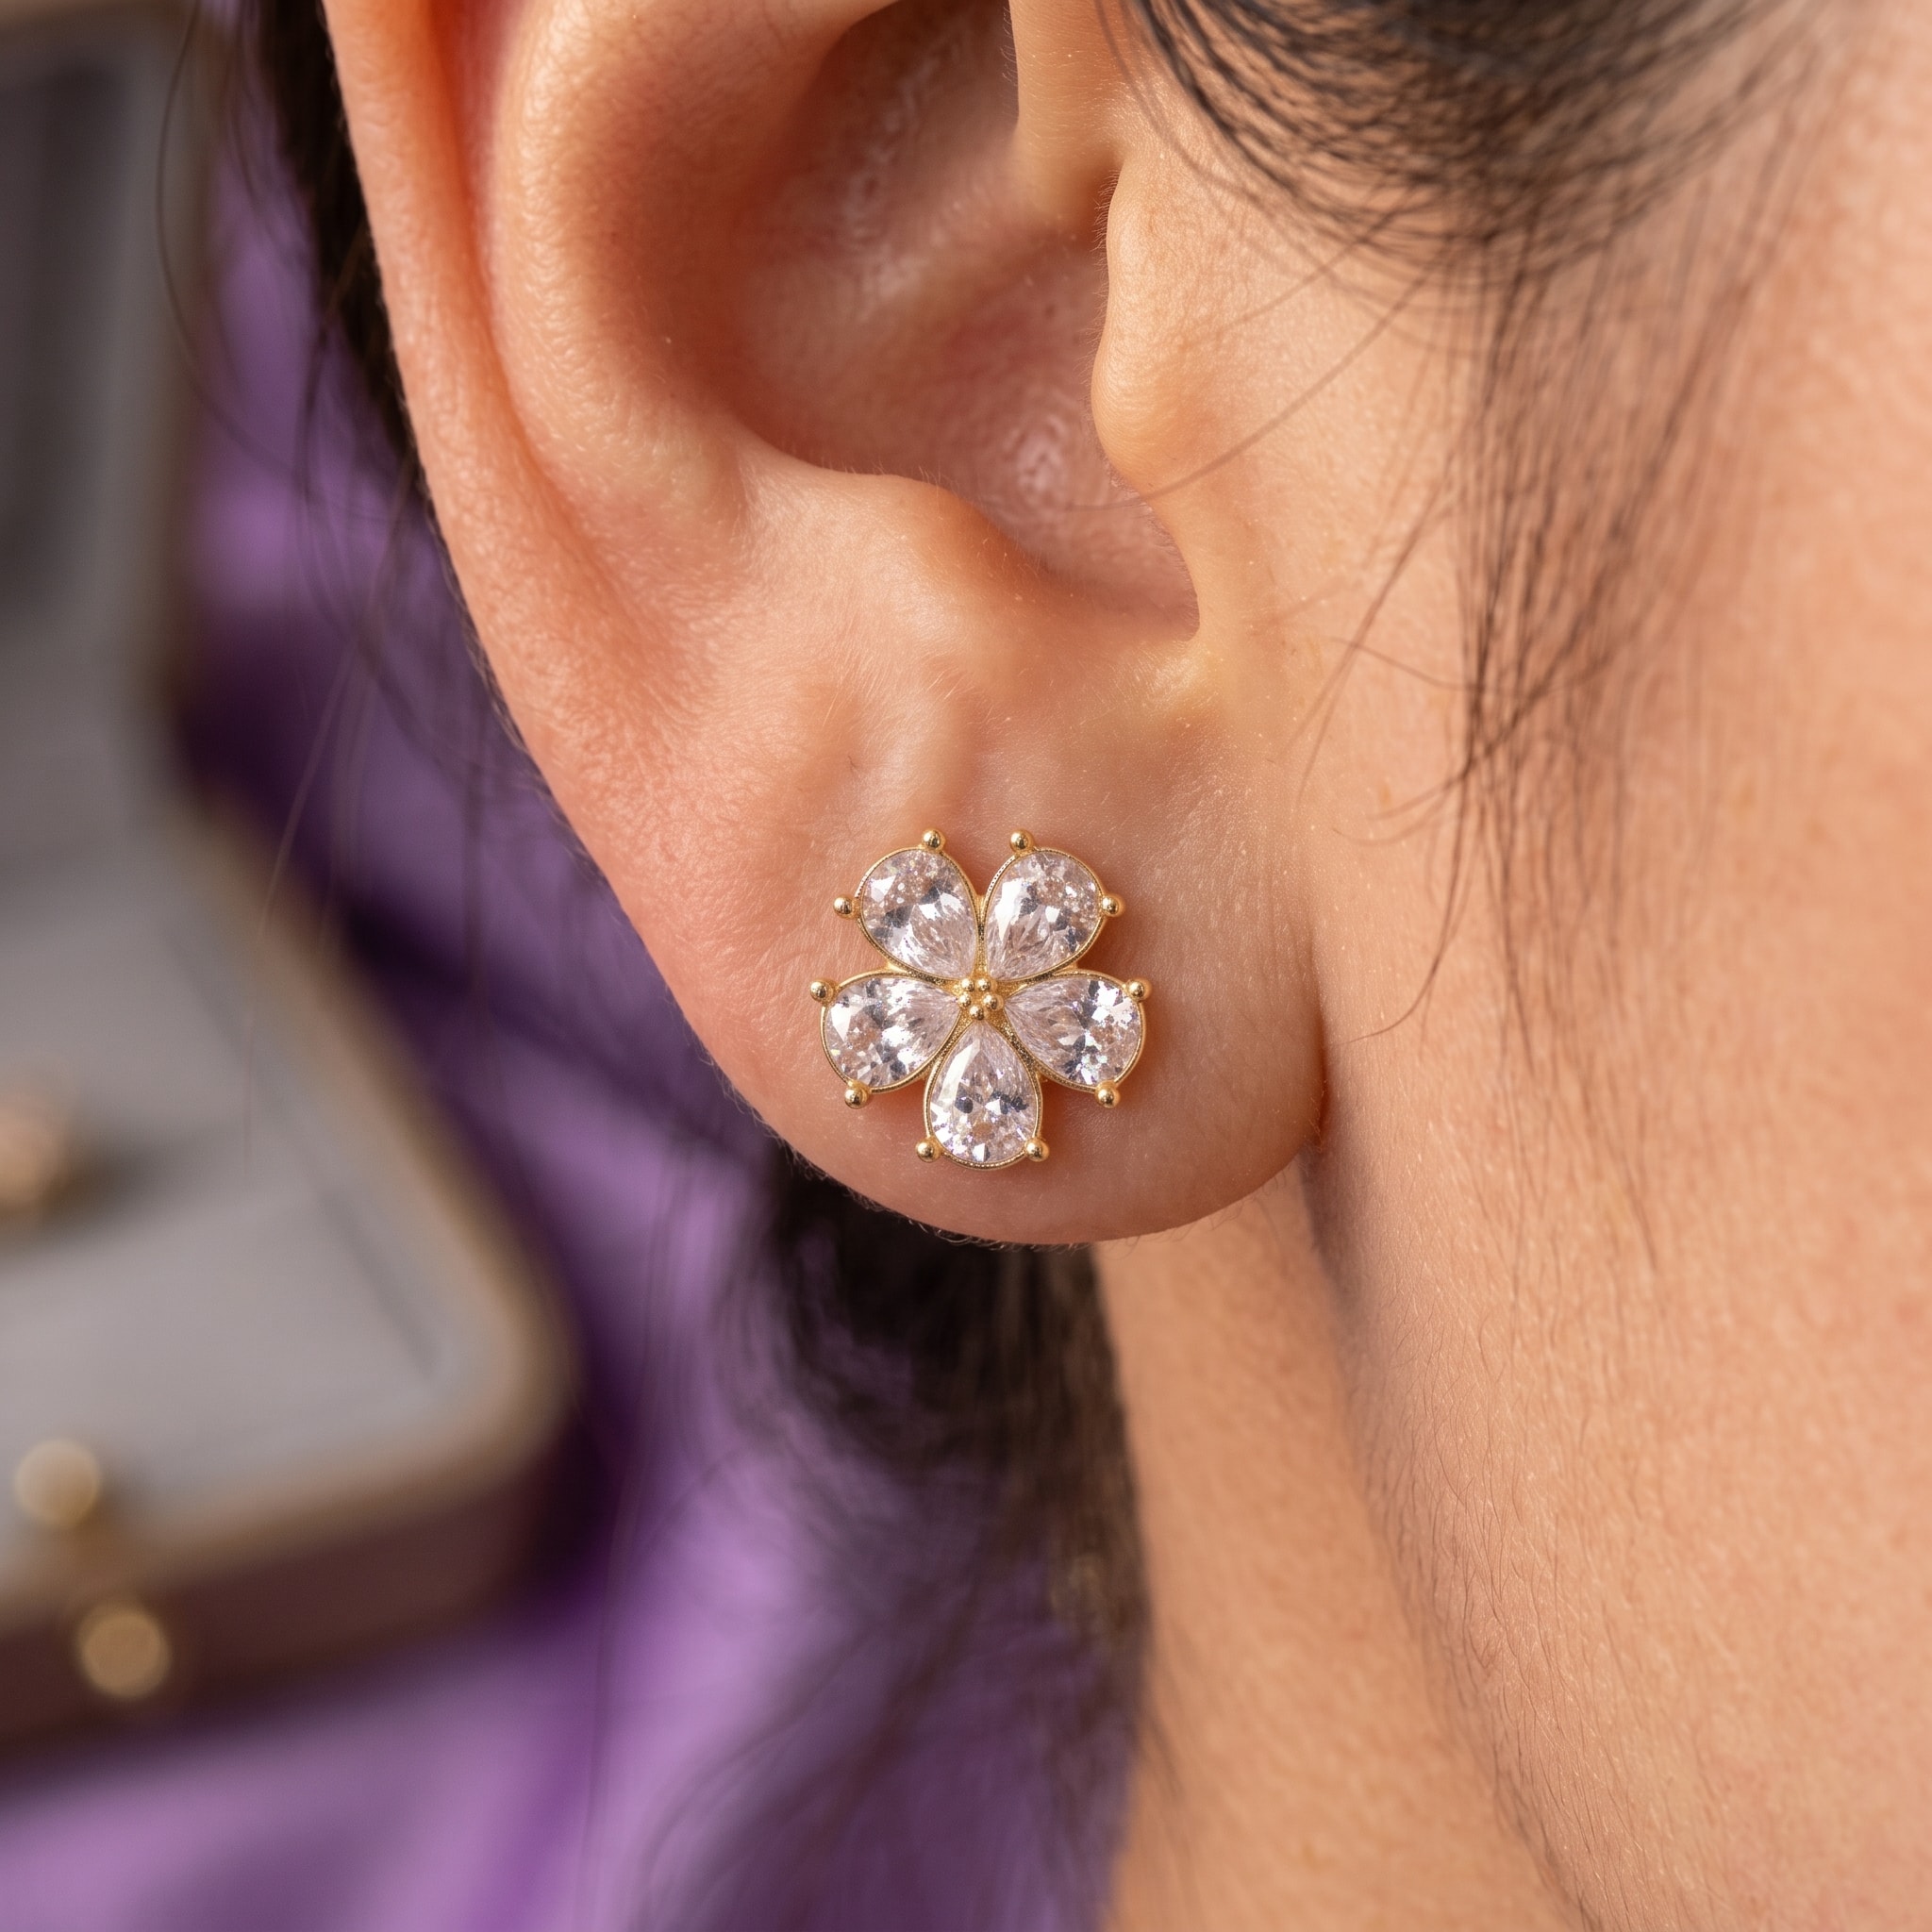
Testing Ear Placements: Helix, Tragus, Conch & Stacked Lobes
Ear piercing placement testing follows the same principle. Clean the specific cartilage area with an alcohol wipe, apply the stud, and photograph from multiple angles. For helix placements, check whether the stud is visible from the front - many people want their helix stud seen in selfies, which requires specific forward positioning.
For tragus testing, wear your normal earphones or headphones with the stud in place. A tragus piercing placed too far forward will be pressed painfully by in-ear buds every day. An adhesive test stud reveals this conflict before you've paid for a permanent piercing.
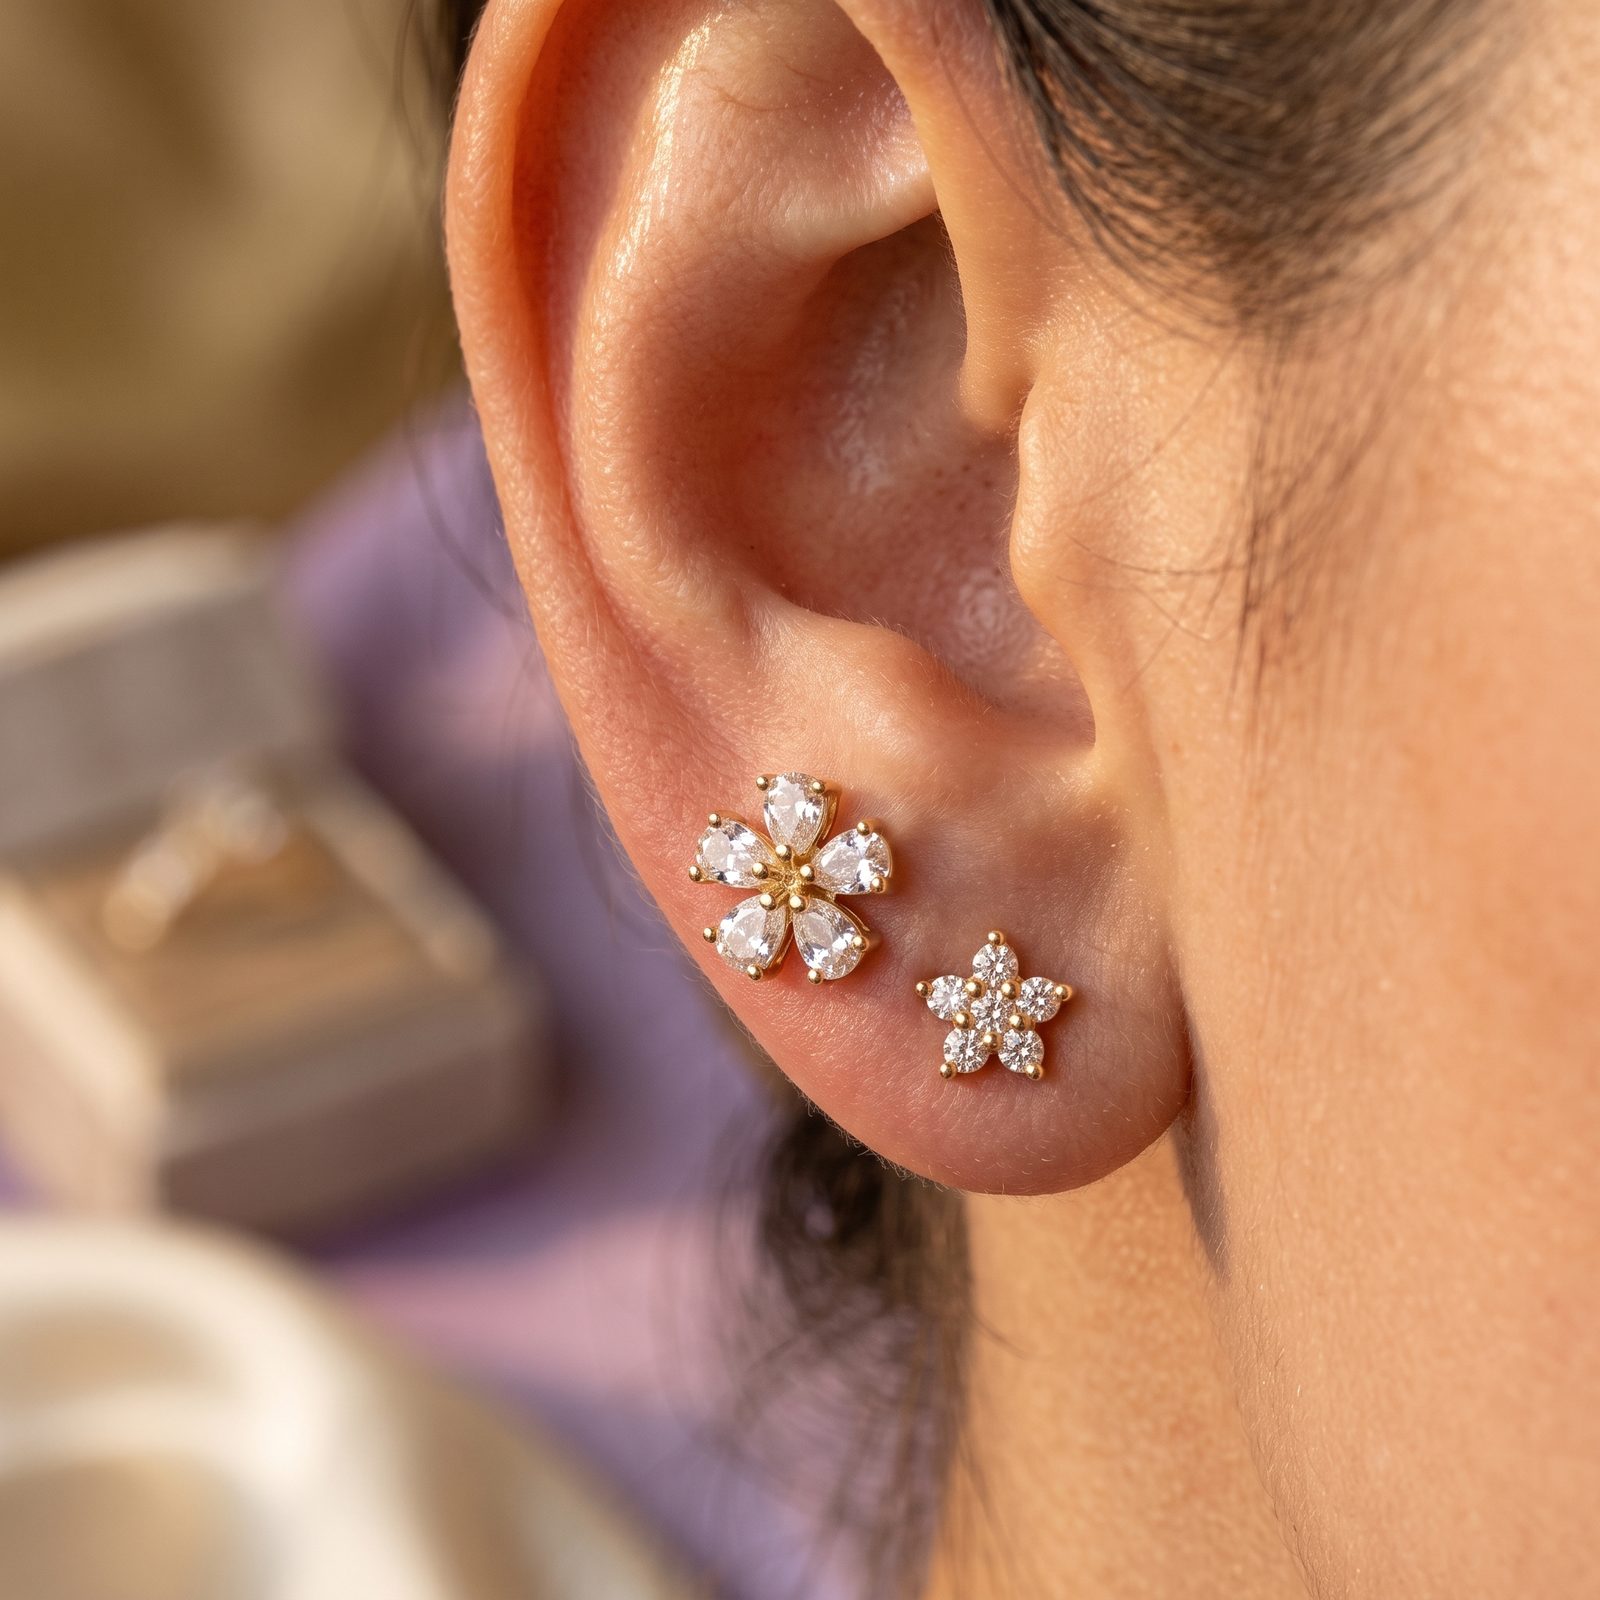
Stacked lobe testing is where adhesive studs truly shine. Place two or three studs in a graduating line up your earlobe and wear them for a weekend. You'll quickly discover the optimal spacing - too tight and the studs crowd each other; too wide and the constellation effect is lost.
Frequently Asked Questions
**Can I show my piercer where I want the piercing using an adhesive stud?** Yes - this is one of the best uses. Wear your adhesive stud to your piercing appointment to show the piercer your exact preferred placement. They can mark the spot precisely based on where you've already tested and approved it.
**How many times can I reposition and test?** Unlimited. The surgical steel stud is fully reusable - only the adhesive dot needs replacing. A single sheet of 60 dots (£1.49) gives you 60 separate placement tests.
**What if I decide I don't want a real piercing after testing?** That's perfectly valid - and that's the entire point. Many customers discover through testing that they prefer the flexibility of adhesive studs permanently. No healing time, no maintenance, and you can change placements daily.
The Bottom Line
A piercing is permanent. The scar it leaves is permanent. Testing placement with adhesive studs costs under £5 and gives you weeks of real-world data on how a stud looks on your face in every context. It's the most sensible step anyone can take before sitting in a piercer's chair.
Recommended Guides
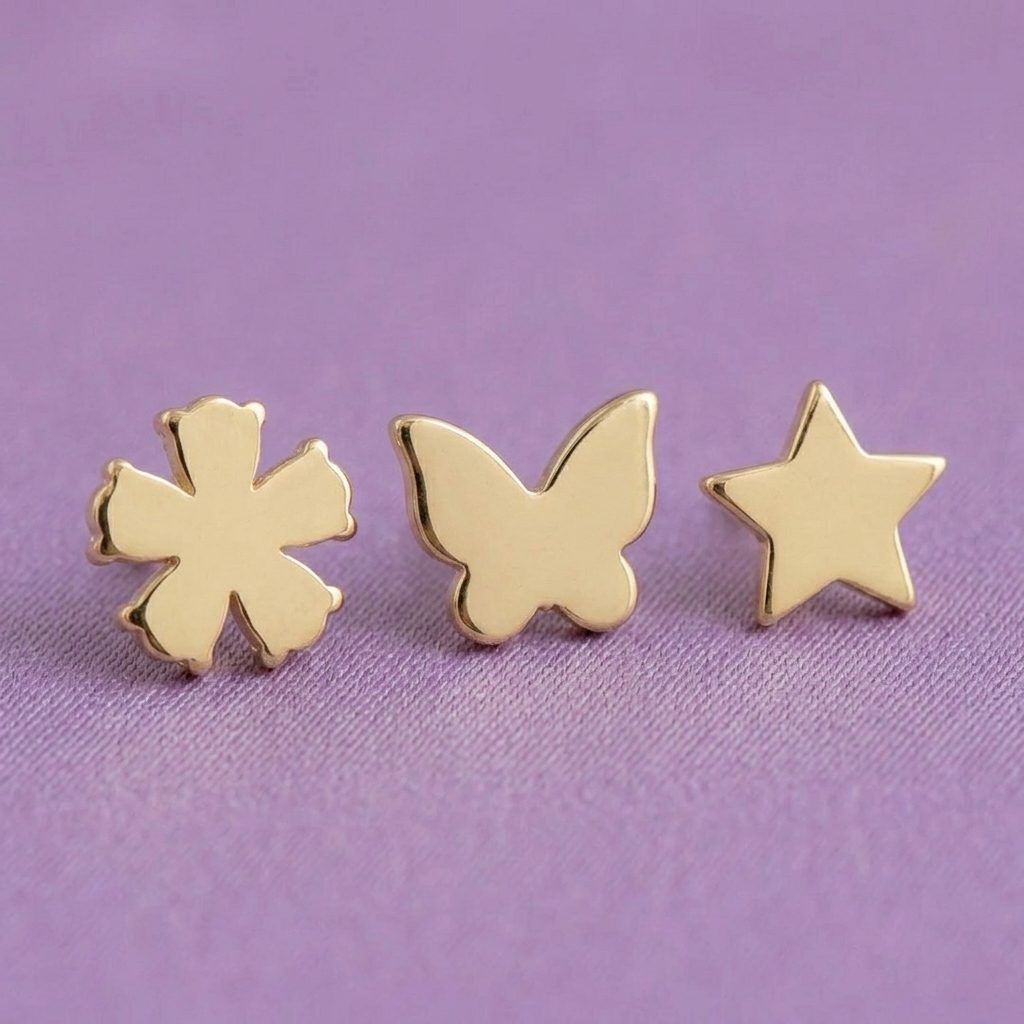
Painless Faux Curation For Ears & Nose
Hypoallergenic surgical stainless steel flat-backs paired with ISO 10993 medical-grade adhesion. Style high helix, tragus, lobes, or nostril placements with complete daily freedom.